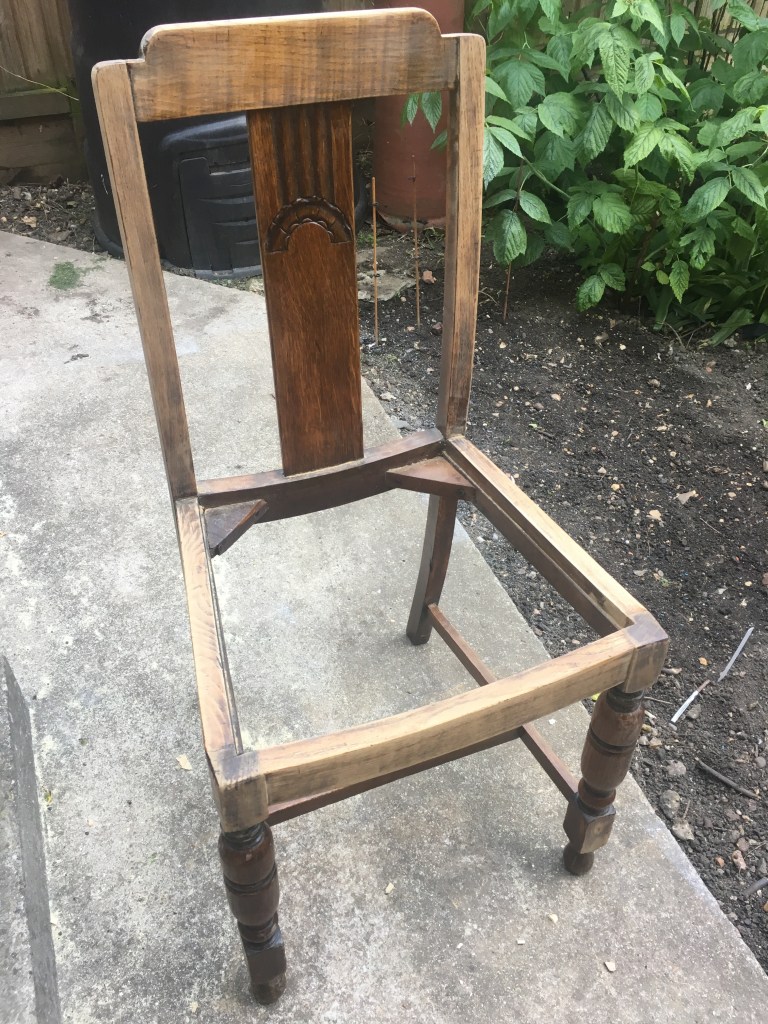
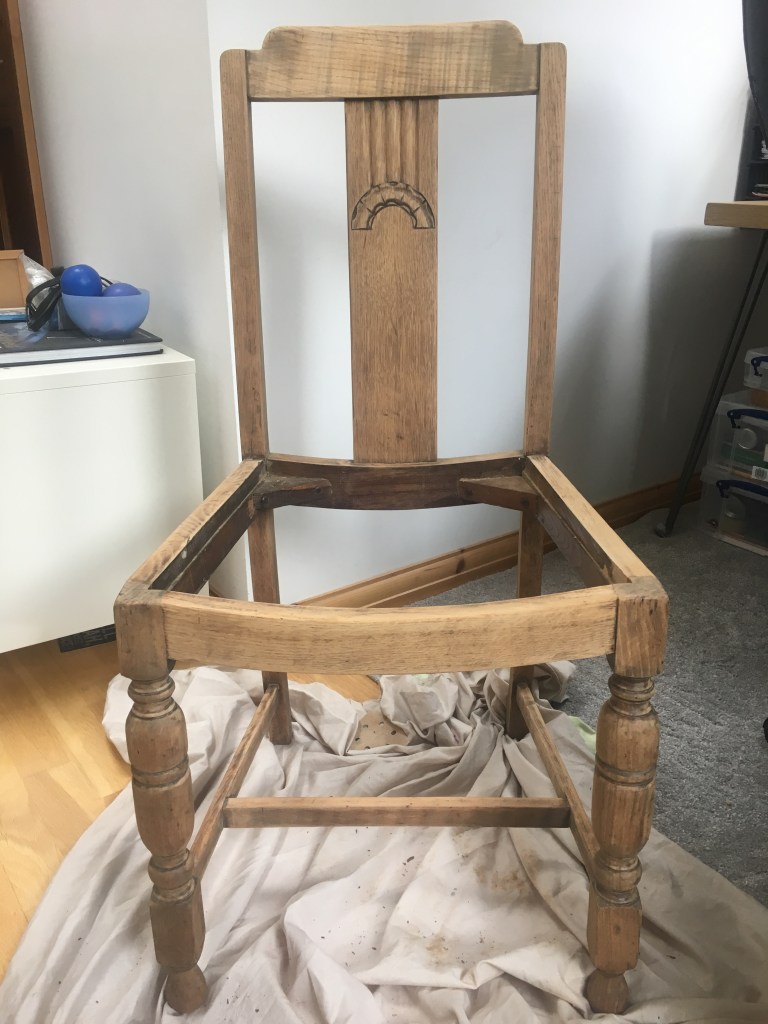
Having had some fun working with the Jiri Jiroutek piece (which was a long and time-consuming project) I wanted something a little easier to play with. I turned to ebay to see what bargains I could pick up, thinking I could do something wild and colourful and simple. I found a rather lovely chair, not too fair from where I live, and it cost me the princely sum of 1p! Getting it home on the tube was interesting, but at least I was guaranteed a seat.

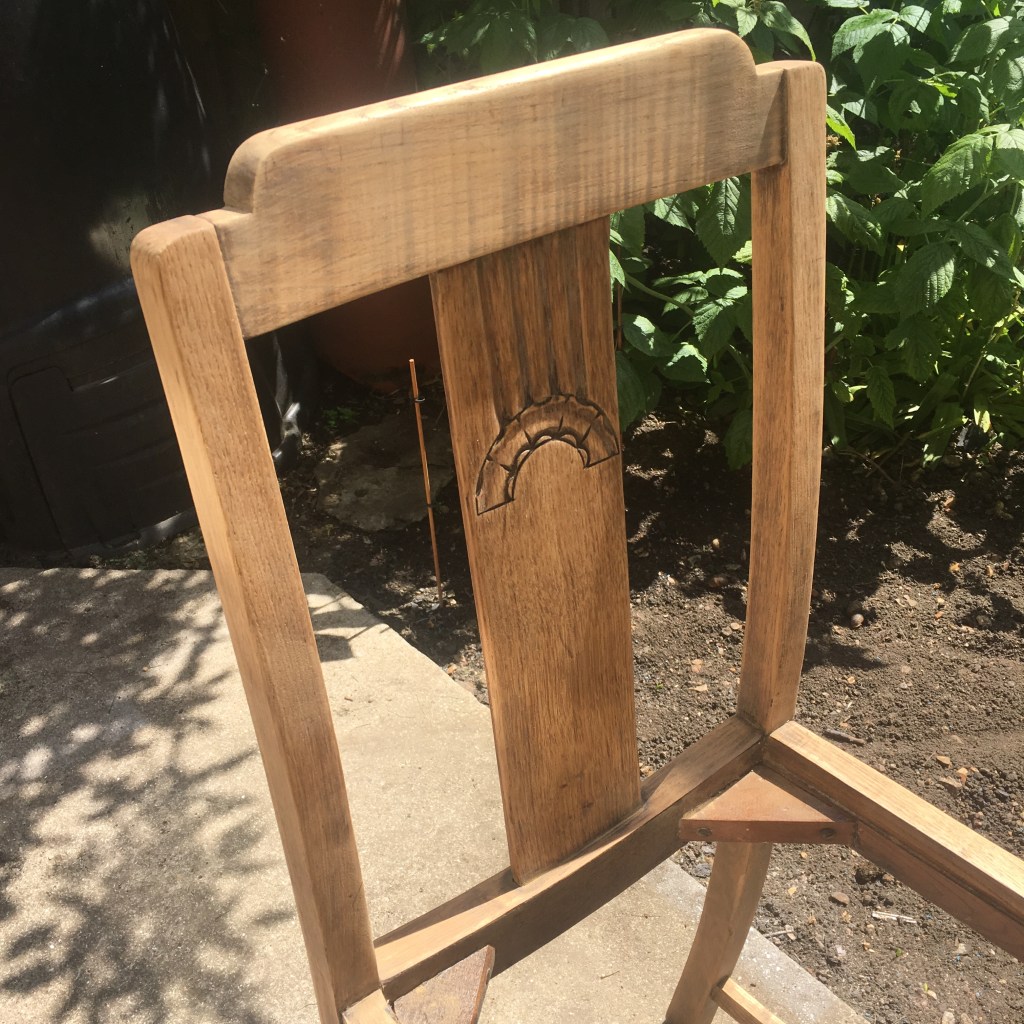
As I said, originally I just wanted something cheap that I could experiment with, but this chair had some charm to it, and I liked the detail in the woodwork. I realised I couldn’t just paint it. I needed to sand it instead.

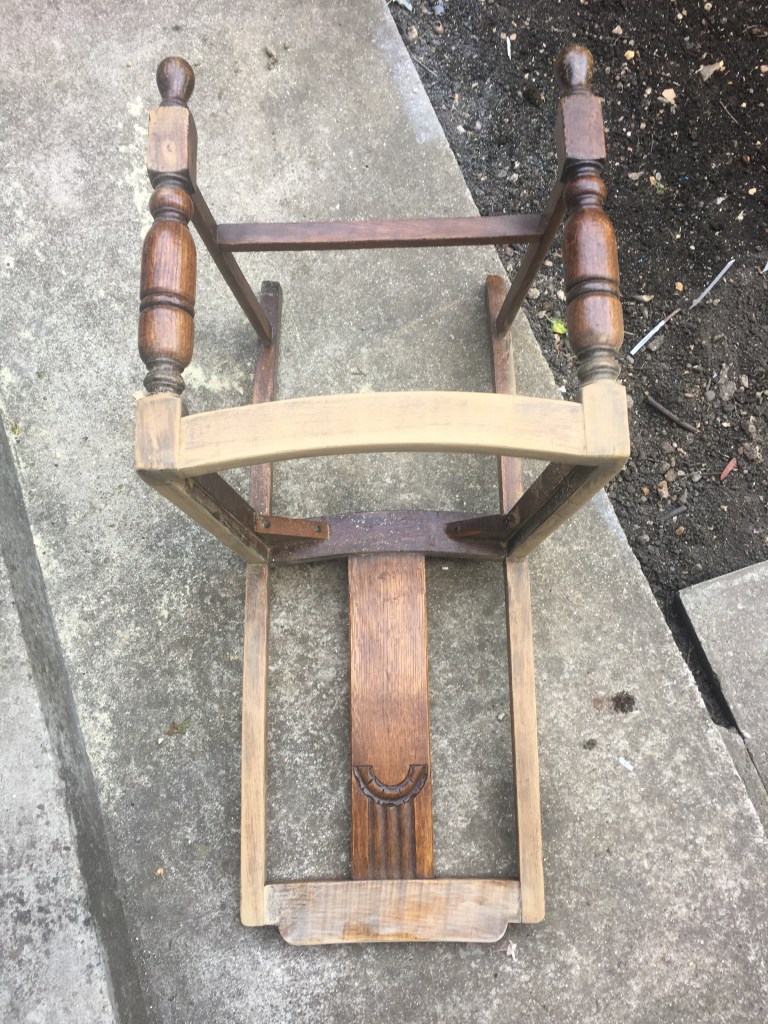


Sanding took quite a long time. Especially around the fiddly legs. Various methods – from hand sanding, wrapping sandpaper round pencils, using the mouse-sander and even trying some varnish removal stuff – were all experimented with. Why didn’t I just paint it?
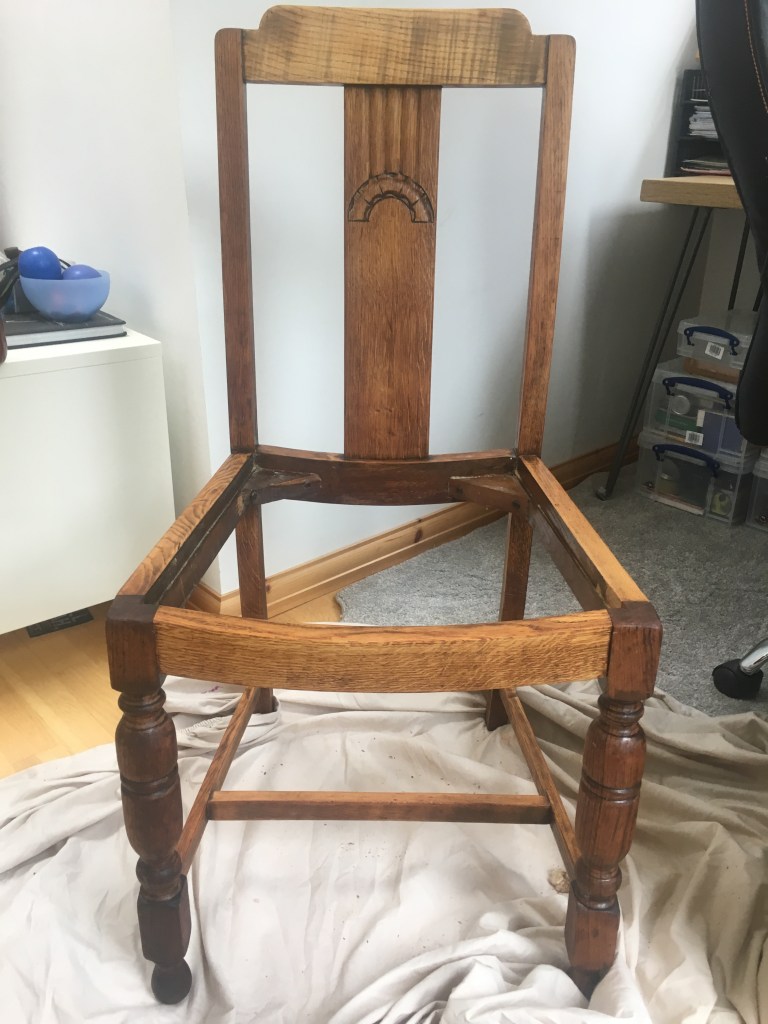
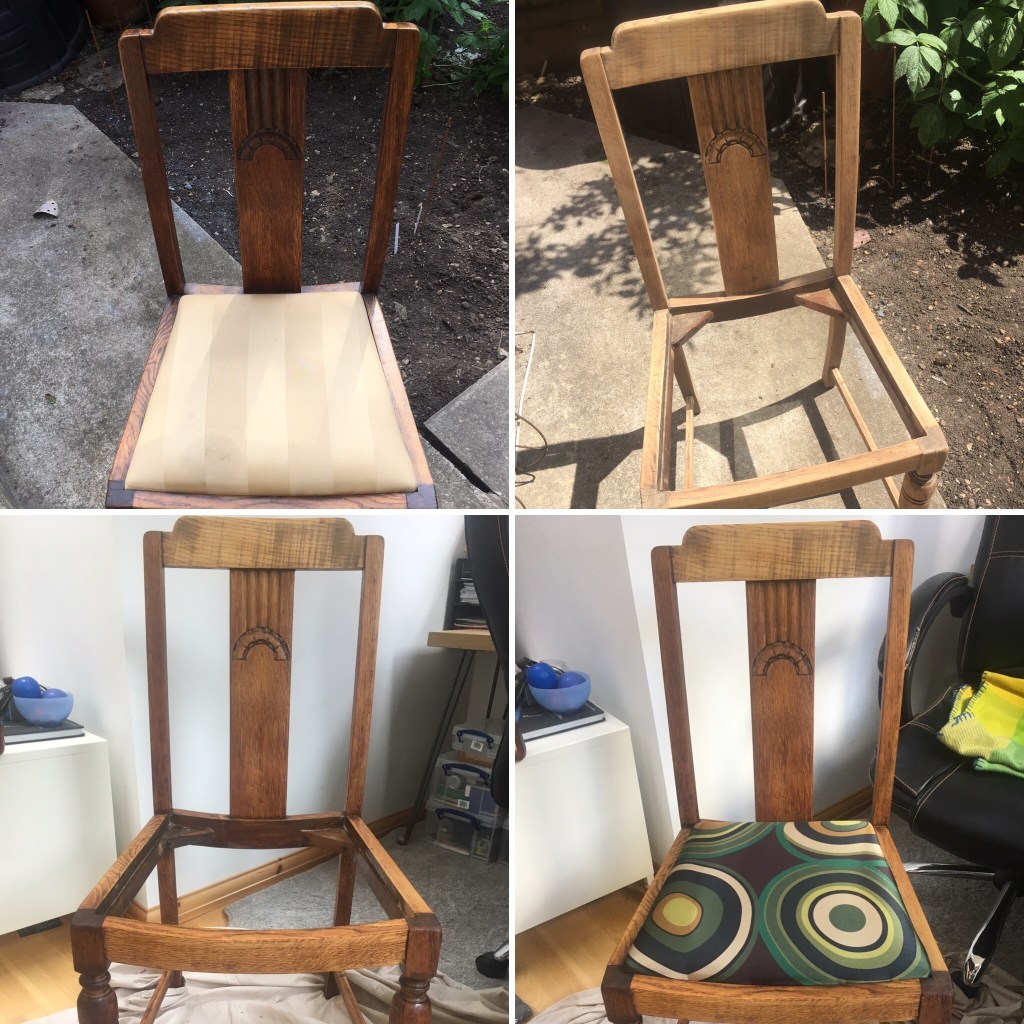
I got it about as well-sanded as I could manage without running out of patience completely(!) and then decided that it would do well with a treatment of teak oil. This stuff really brought out the warmth of the wood (and almost made it as dark as it was when I started!). Next up was re-covering the seat pad. This was going to be an easy job since the pad was in very good condition apart from a stain in one corner. I decided to be lazy and just staple my material over the existing cover.

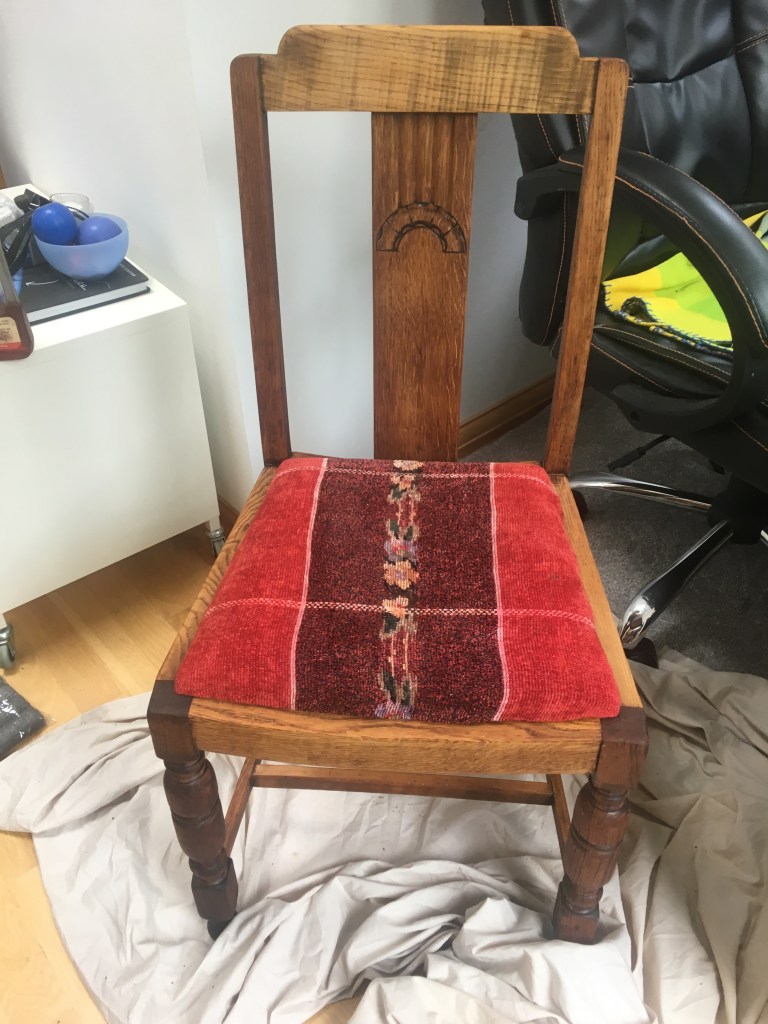
I experimented with a couple of fabrics, to see if I could work out what felt “right” for the piece. Eventually though I reached for the piece of material that is technically not right for a seat cover, but that had caught my eye (and my heart) at the Forest Recycling Centre. It was time to go retro.
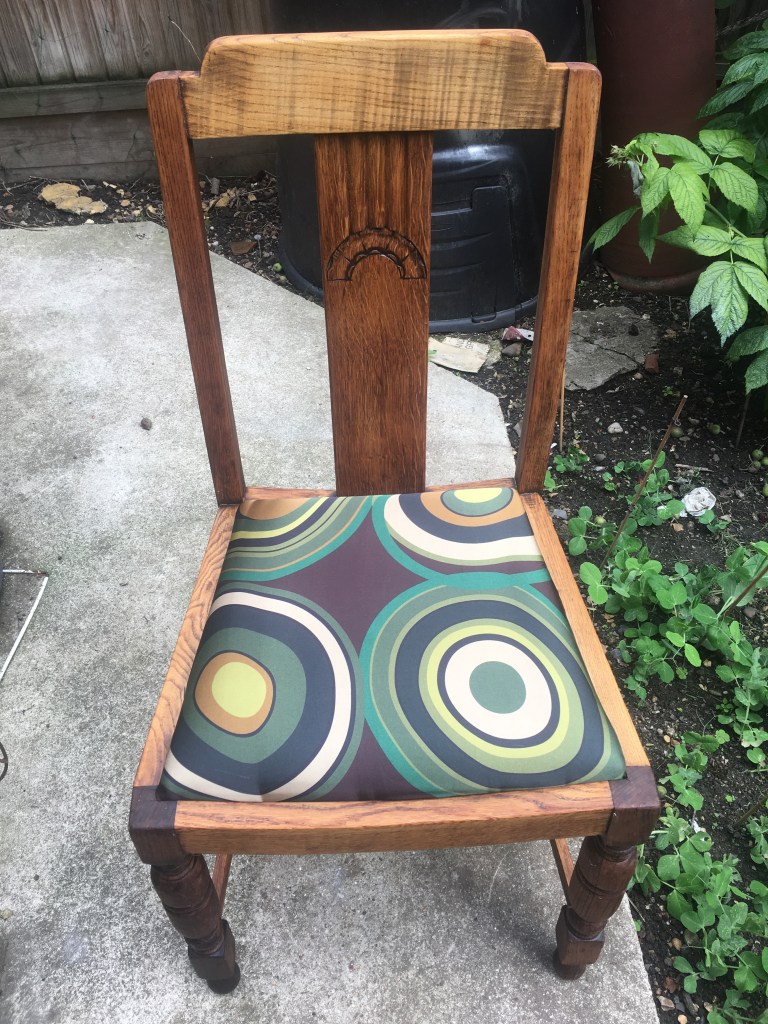
So that’s the story of my wooden chair. A fun project that taught me to avoid anything with intricate spindly legs if I’m thinking of sanding!